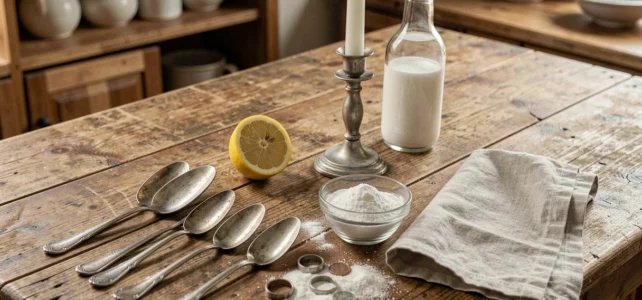
The darkening of silver results from the formation of silver sulfide when it comes into contact with sulfur compounds present in the air, sweat, or certain cosmetics. 925 silver – an alloy containing 92.5% pure silver and 7.5% copper – is particularly sensitive to this. Not all cleaning methods are created equal, and some can irreversibly damage a surface-treated piece. Here are ten practical techniques, categorized by their mechanism of action, to restore the shine to tarnished silver.
1. Electrolytic bath with aluminum and baking soda
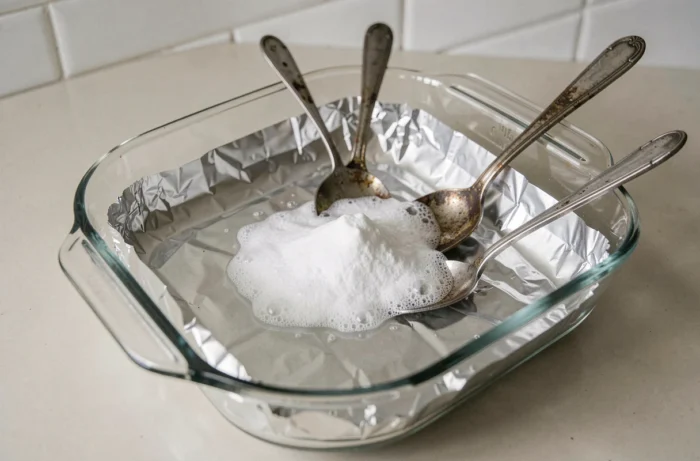
This method utilizes a redox reaction: aluminum, being more reactive than silver, attracts the sulfur from silver sulfide and converts it into aluminum sulfide. The result is a chemical stripping that does not remove any material from the piece, unlike mechanical polishing.
Line a container with aluminum foil, place the silver pieces on top, then pour boiling water mixed with one tablespoon of baking soda per liter. Direct contact between the aluminum and silver is necessary for the electron transfer to occur. We recommend this technique primarily for tableware or solid pieces without stones or glue.
By consulting the tips for cleaning tarnished silver detailed by professionals, it is noted that this electrolytic reaction remains the only one capable of treating multiple utensils simultaneously without mechanical effort.
2. Baking soda paste applied with light friction
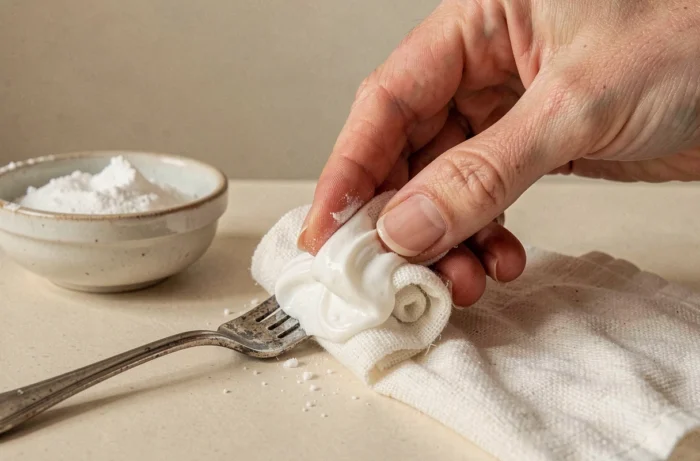
Mix two parts of baking soda with one part of water to create a thick paste. Apply it with a microfiber cloth or a soft-bristled brush using circular motions. The baking soda acts here as a very fine abrasive that dissolves the sulfide without scratching 925 silver.
Be cautious with rhodium-plated pieces: friction can prematurely wear away the rhodium layer. For jewelry with a mirror finish achieved through rhodium plating, we prefer the electrolytic bath or simply mild soap.
3. Soaking in white vinegar for light oxidation
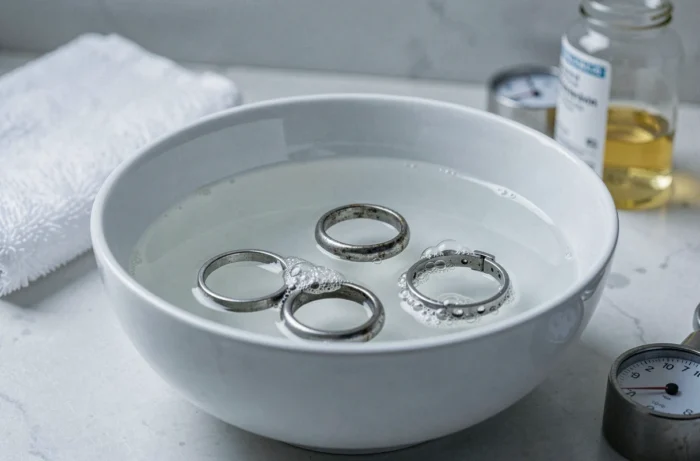
White vinegar (household concentration acetic acid) partially dissolves the silver sulfide on the surface. Soak the piece for one to two hours, then gently rub with a soft cloth. This method is suitable for light tarnishing when the black layer is thin and uniform.
White vinegar does not act on deep tarnishing. If the piece remains dark after soaking, switch to the aluminum-baking soda bath or a dedicated product.
4. Lemon juice and fine salt on solid silver
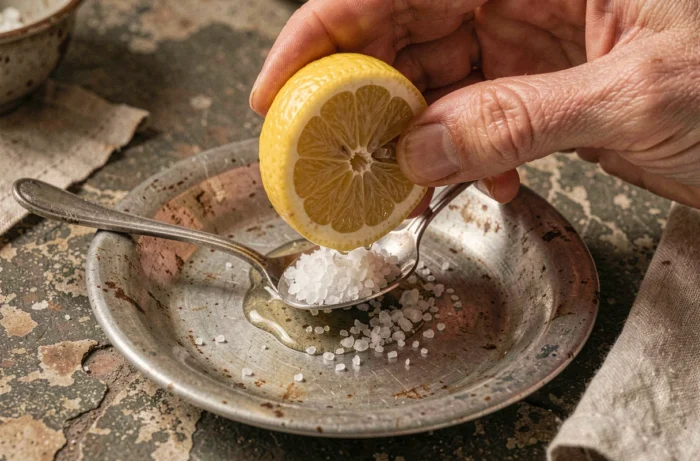
The citric acid in lemon juice, combined with the abrasive action of fine salt, effectively attacks the layers of sulfide on thick objects (cutlery, candlesticks, trays). Rub the surface with half a lemon sprinkled with salt, rinse with warm water, and dry immediately.
This technique is too aggressive for fine jewelry, delicate chains, or any piece set with pearls, opals, or porous stones. The acidity can damage the nacre and alter the luster of cultured pearls.
5. Non-gel toothpaste as a backup abrasive
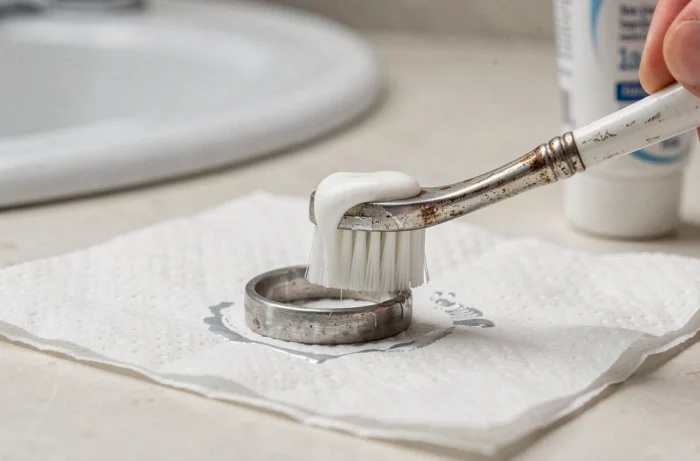
A classic white toothpaste (no gel, no microbeads) contains calcium carbonate or hydrated silica, two mild abrasives. Apply a small amount on a damp cloth, rub the tarnished area, rinse, and dry.
We find that this method is often overrated: it works in a pinch on a small surface (ring, pendant), but the result remains uneven on a larger object. Toothpaste does not replace a complete chemical cleaning.
6. Warm soapy water for regular maintenance
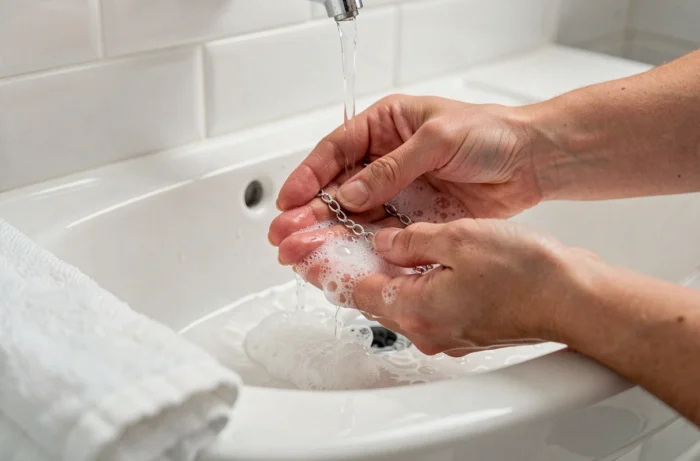
A bath of warm water with a few drops of liquid Marseille soap or mild dish soap is sufficient to remove greasy residues (sebum, cream, perfume) that accelerate tarnishing. Soak for ten minutes, rub with a soft brush, rinse, and dry with a lint-free cloth.
This step should precede any more aggressive treatment. Cleaning tarnished silver without first degreasing it reduces the effectiveness of chemical agents, as the greasy layer acts as a barrier to sulfide.
7. Silver stone (white stone) for solid pieces
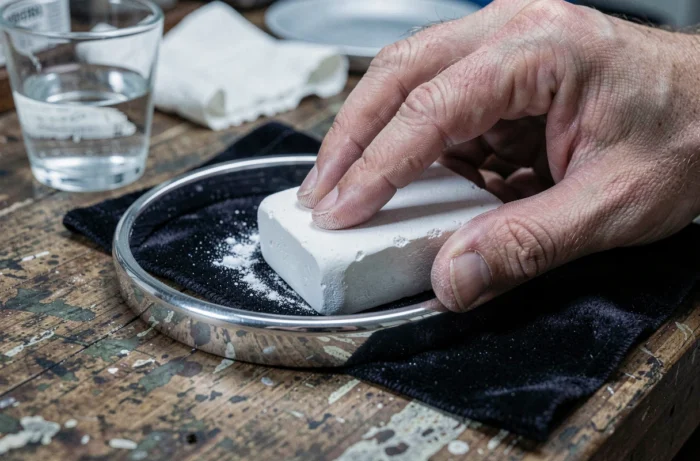
Silver stone, made from white clay and soap, is a versatile cleaner-polisher. It works through micro-abrasion and leaves a temporary protective film on the surface. Apply it with a damp sponge in circular motions.
Its main advantage over baking soda: the silver stone polishes and protects in one operation. It is suitable for trays, photo frames, and decorative objects, but less so for intricately designed jewelry where the crevices are hard to reach.
8. Sifted wood ash, a traditional technique
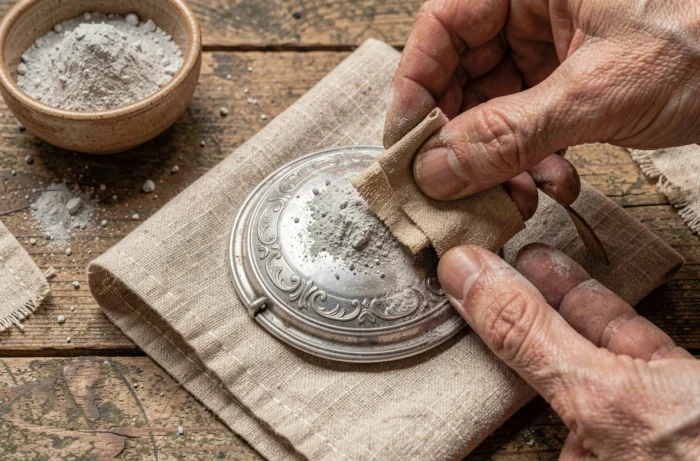
Sifted untreated wood ash contains potash (potassium carbonate), a mild alkali that reacts with silver sulfide. Sift the ash finely, dampen a cloth, dip it in the powder, and rub.
This method works, but it is messy and the grain size is difficult to control. A grain that is too coarse can scratch the surface. We reserve it for old pieces that are already patinated, where a few additional micro-scratches go unnoticed.
9. Rhodium-plated or e-coating: adapt cleaning to surface treatment
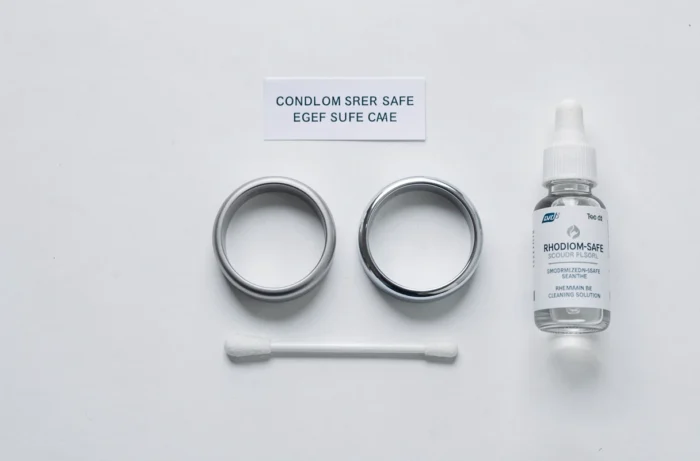
More and more silver jewelry is coated with a thin layer of rhodium or a clear polymer varnish (e-coating). These treatments form a barrier against air and sulfur compounds, significantly slowing down tarnishing.
For these pieces, abrasive methods (paste baking soda, salt, silver stone) should be avoided: they wear away the protective layer and accelerate future darkening. Prefer exclusively warm soapy water cleaning and careful drying. If tarnishing occurs despite this, it indicates that the rhodium plating is worn and re-plating by a jeweler is necessary.
10. Choose an anti-tarnish alloy to reduce maintenance
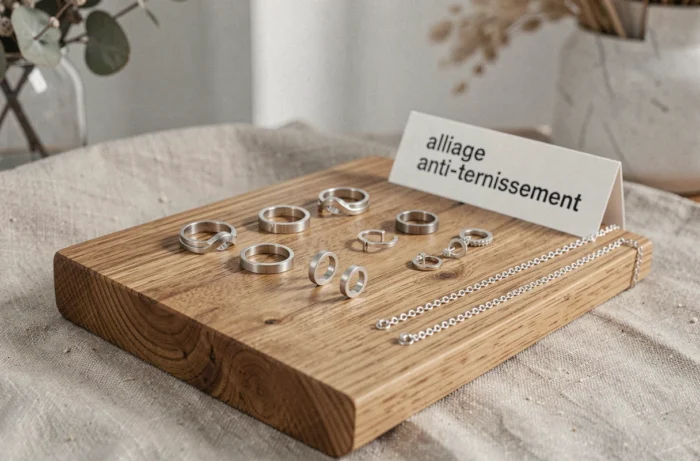
Argentium is a patented alloy that replaces part of the copper in 925 silver with germanium. This metal forms a stable and transparent surface oxide that blocks the penetration of sulfur. The result: tarnishing occurs significantly more slowly than with classic sterling silver.
Other anti-tarnish master alloys are available on the professional market, incorporating elements that slow down the formation of silver sulfide. Choosing these alloys at the time of purchase remains the most effective strategy to limit cleaning sessions.
- Argentium Silver: high tarnish resistance due to germanium, compatible with minimal maintenance using soapy water
- Rhodium-plated Silver: physical barrier of rhodium against sulfur, but the layer needs to be renewed periodically
- E-coating (polymer varnish): invisible protection, sensitive to solvents and abrasives
The choice of cleaning method primarily depends on the nature of the piece: raw silver, rhodium-plated, or coated with a protective varnish. Applying an abrasive technique to a surface-treated piece amounts to destroying its protection. Identifying the type of finish before any intervention prevents irreversible damage and prolongs the lifespan of the object.